ASSEMBLY INSTRUCTIONS
There are a vertical slot and a horizontal one on the back of the screen, so you can mount boards with different sizes by moving the standoff with the small wrench.
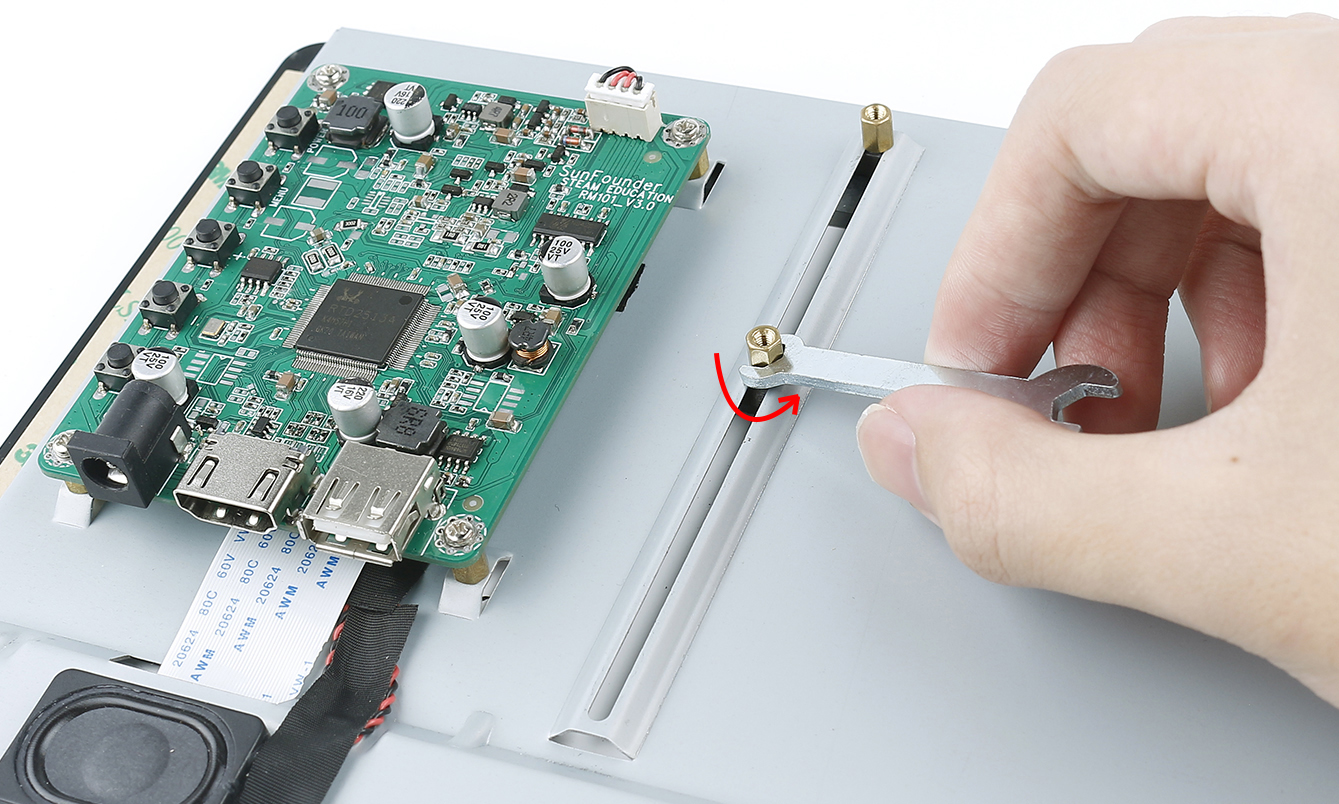
Slide this standoff to get it to the position that secures your Control Board.

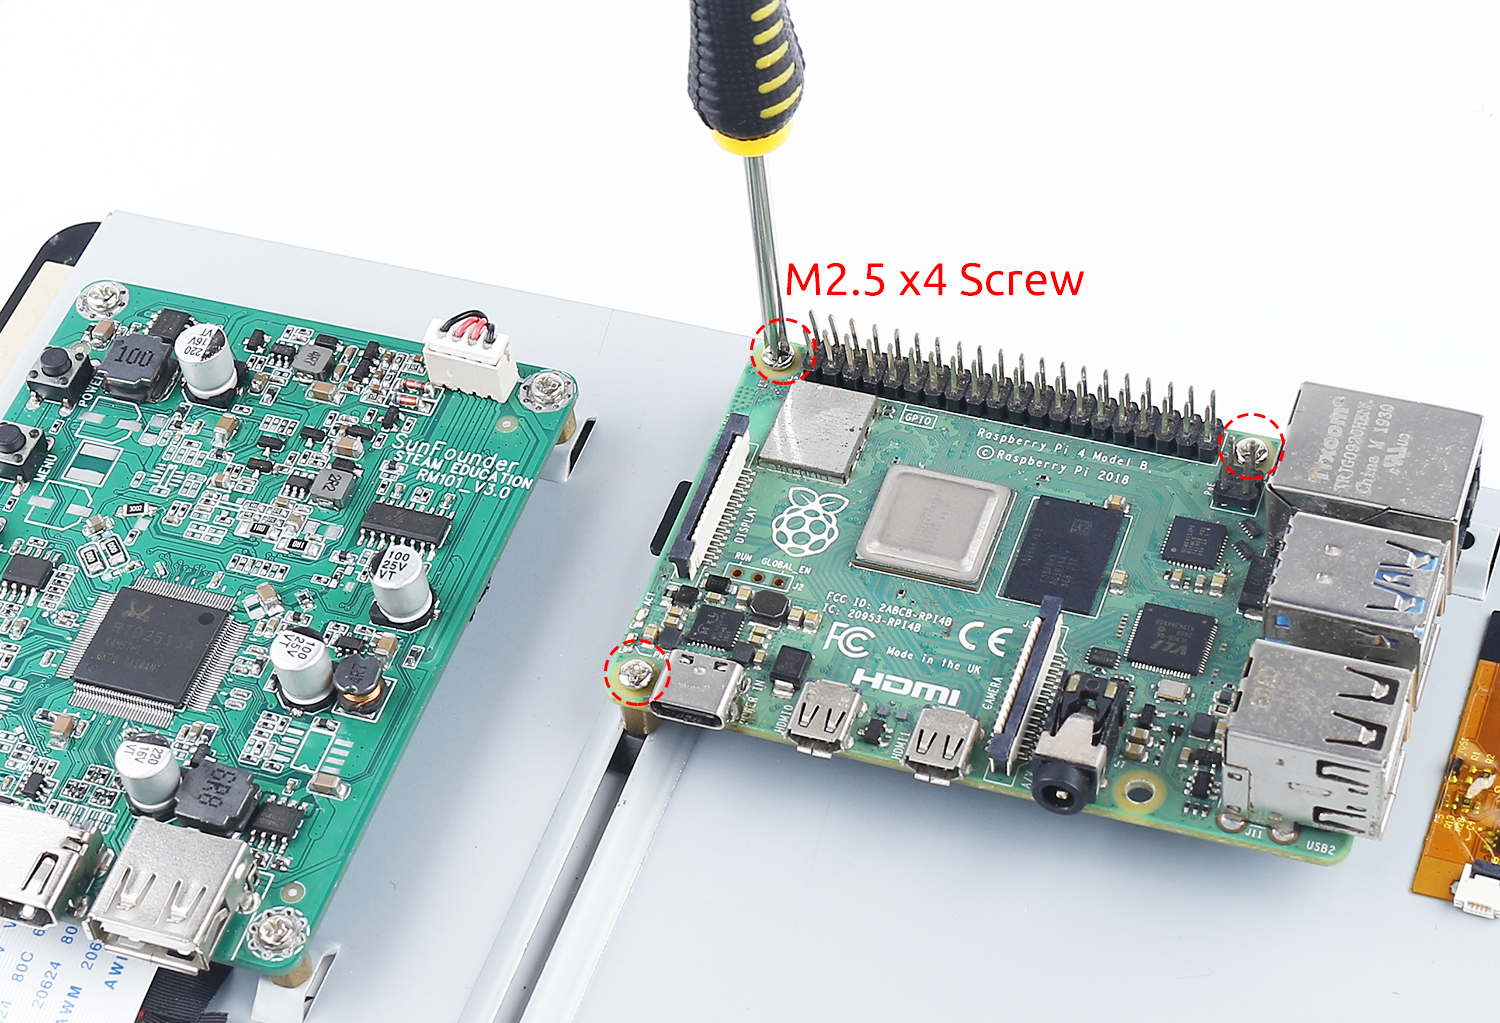
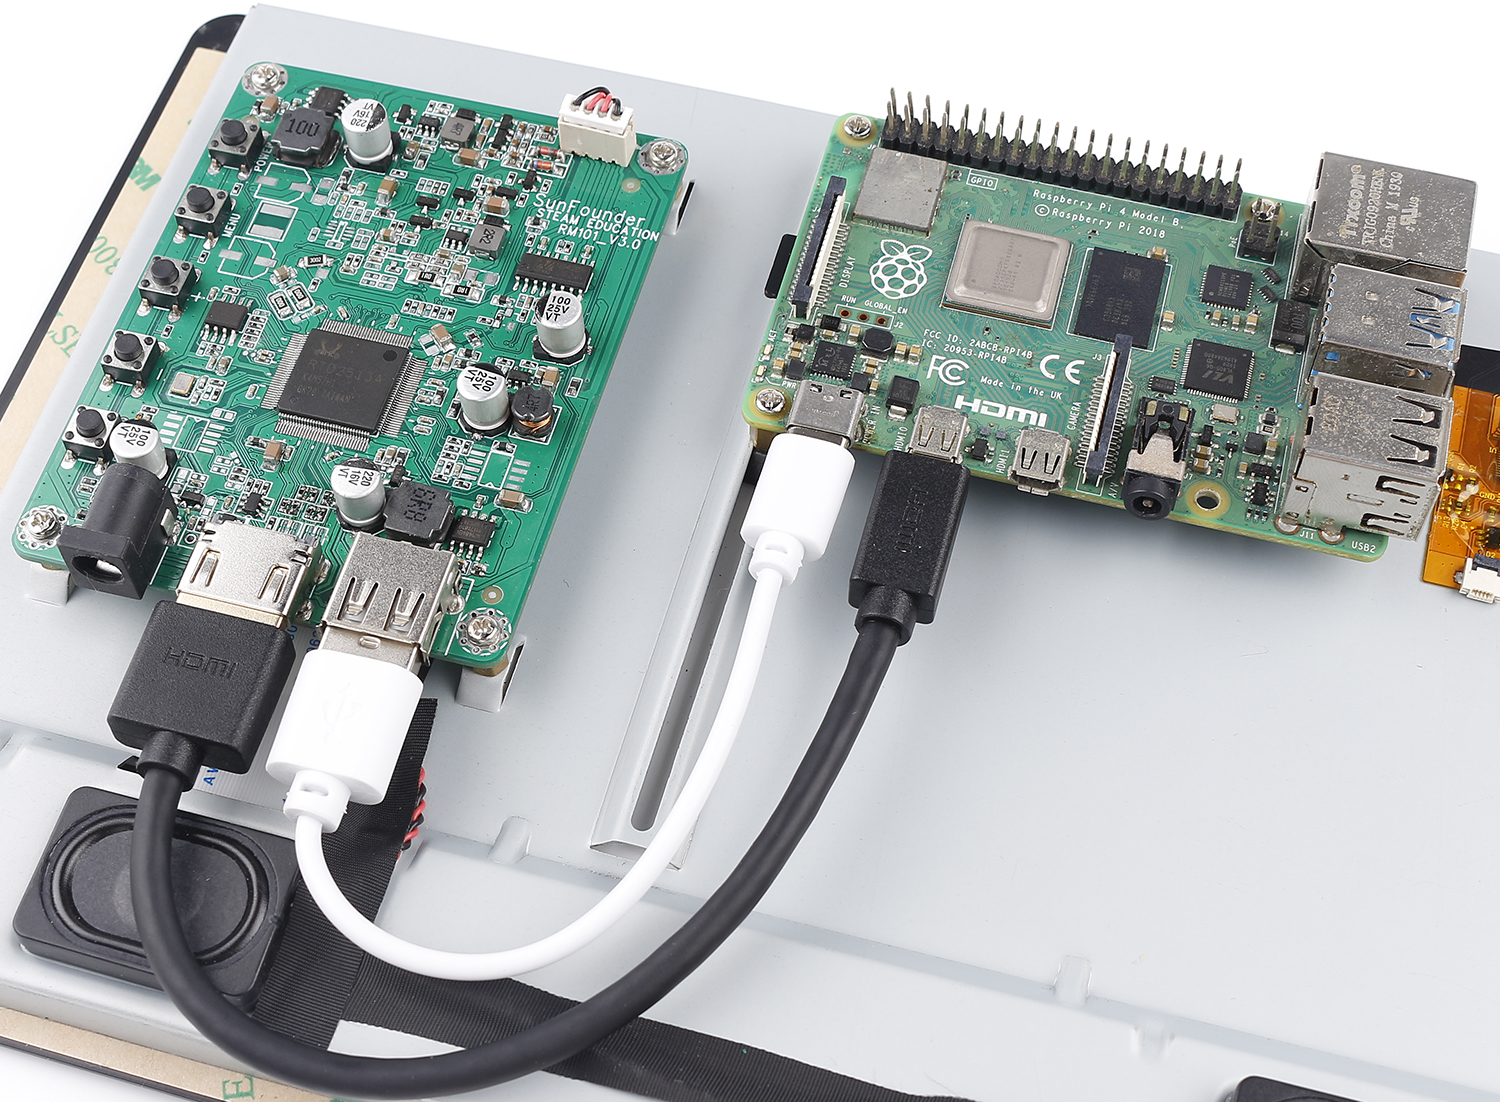
If you want to use a Raspberry Pi with the screen, then you don’t need to adjust the standoffs since they are preset for it. Just place the Raspberry Pi on the plate and fasten them with M2.5*4 Screws.
Connect the HDMI port of the Raspberry Pi and the screen via an HDMI cable.
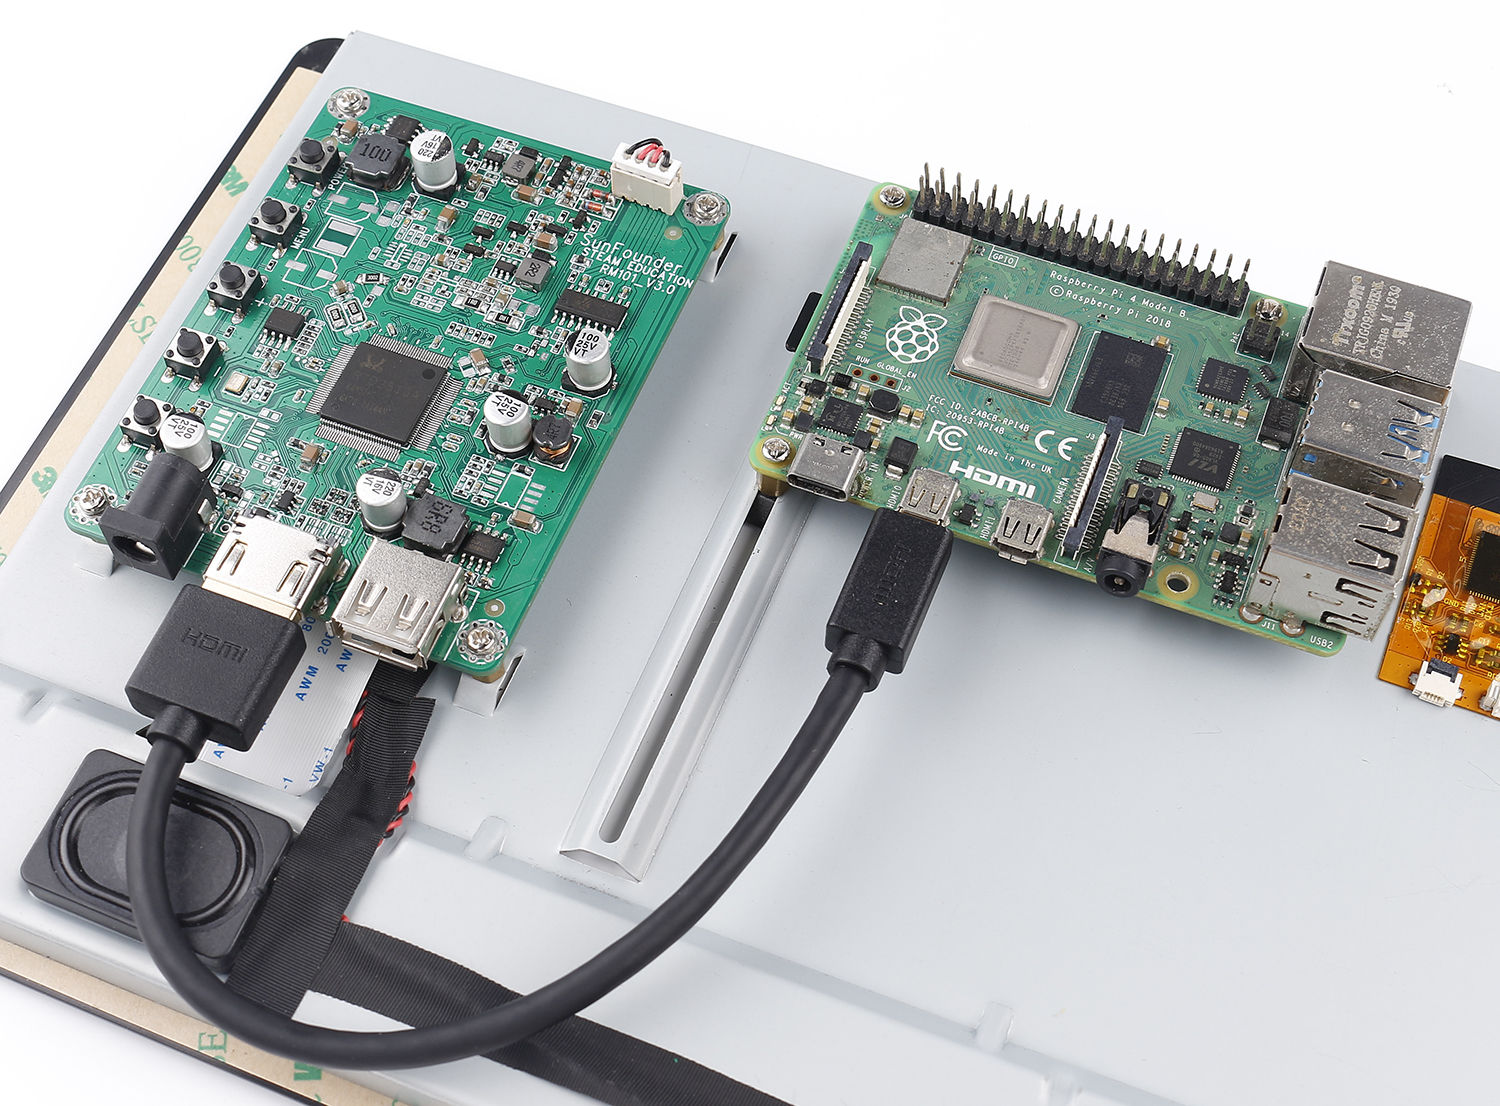
Note
In this kit, both HDMI cable and USB power cable are provided for Raspberry Pi 3 and Raspberry Pi 4.
Plug in the USB power cable so that your Raspberry Pi can get power from the Main Board.
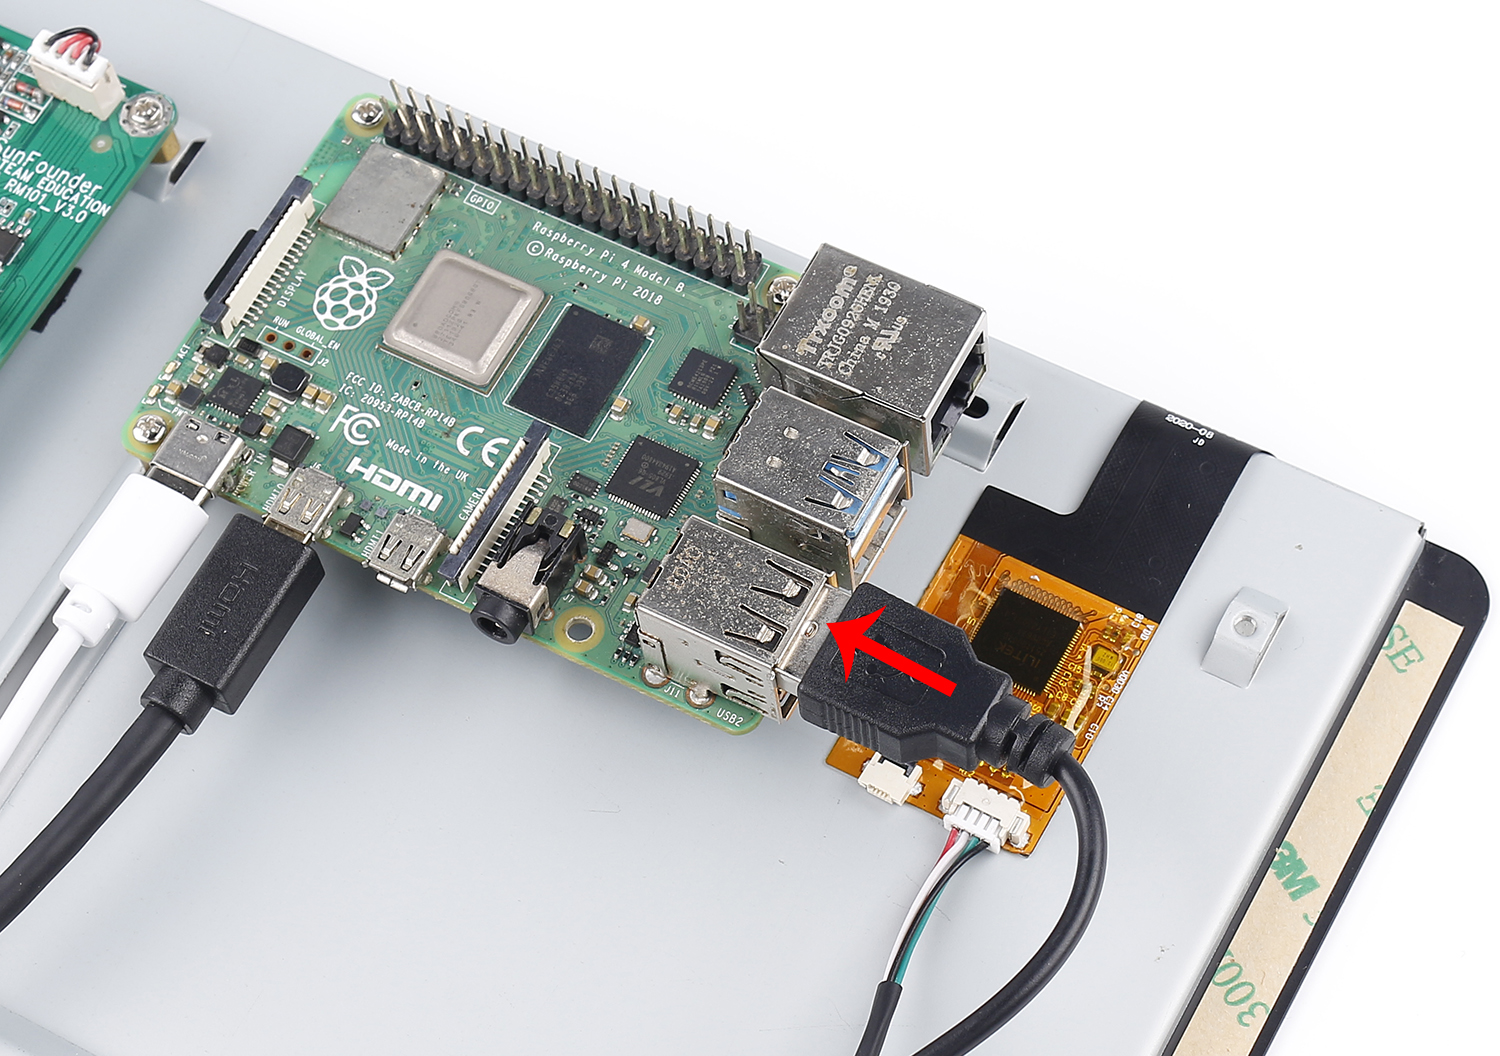
Plug in the USB touch cable, taking care to be gentle so as not to damage the Touch Module.
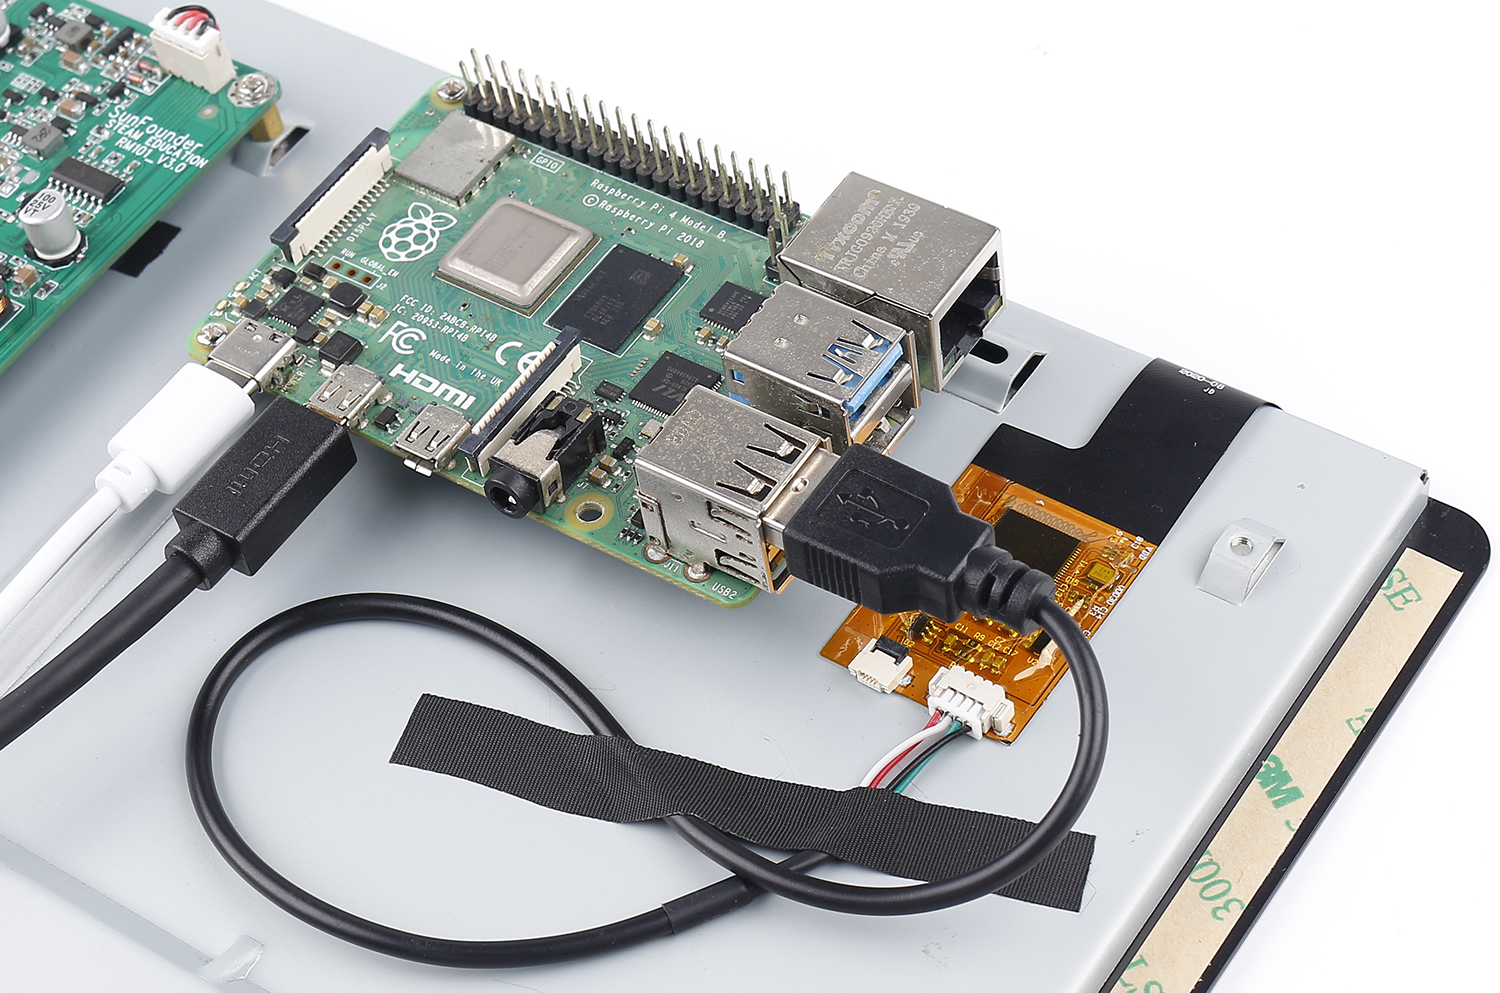
Use a tape to secure it in place to prevent it from falling off.
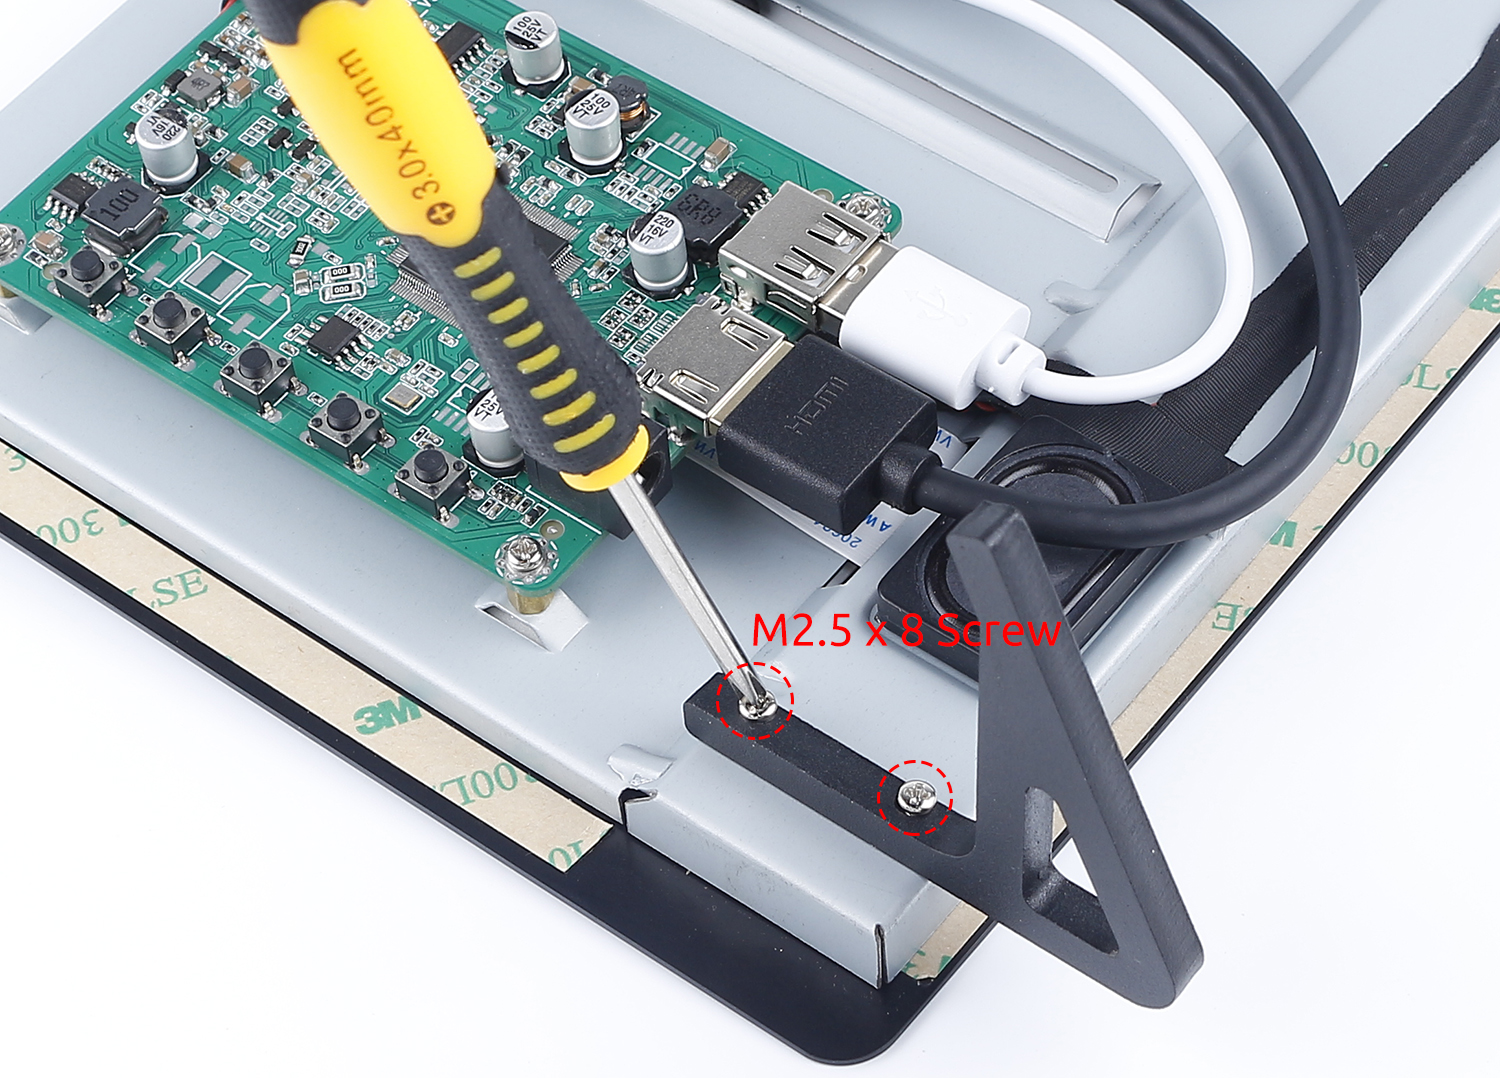
Secure the Metal Support on with M2.5x8 Screws.
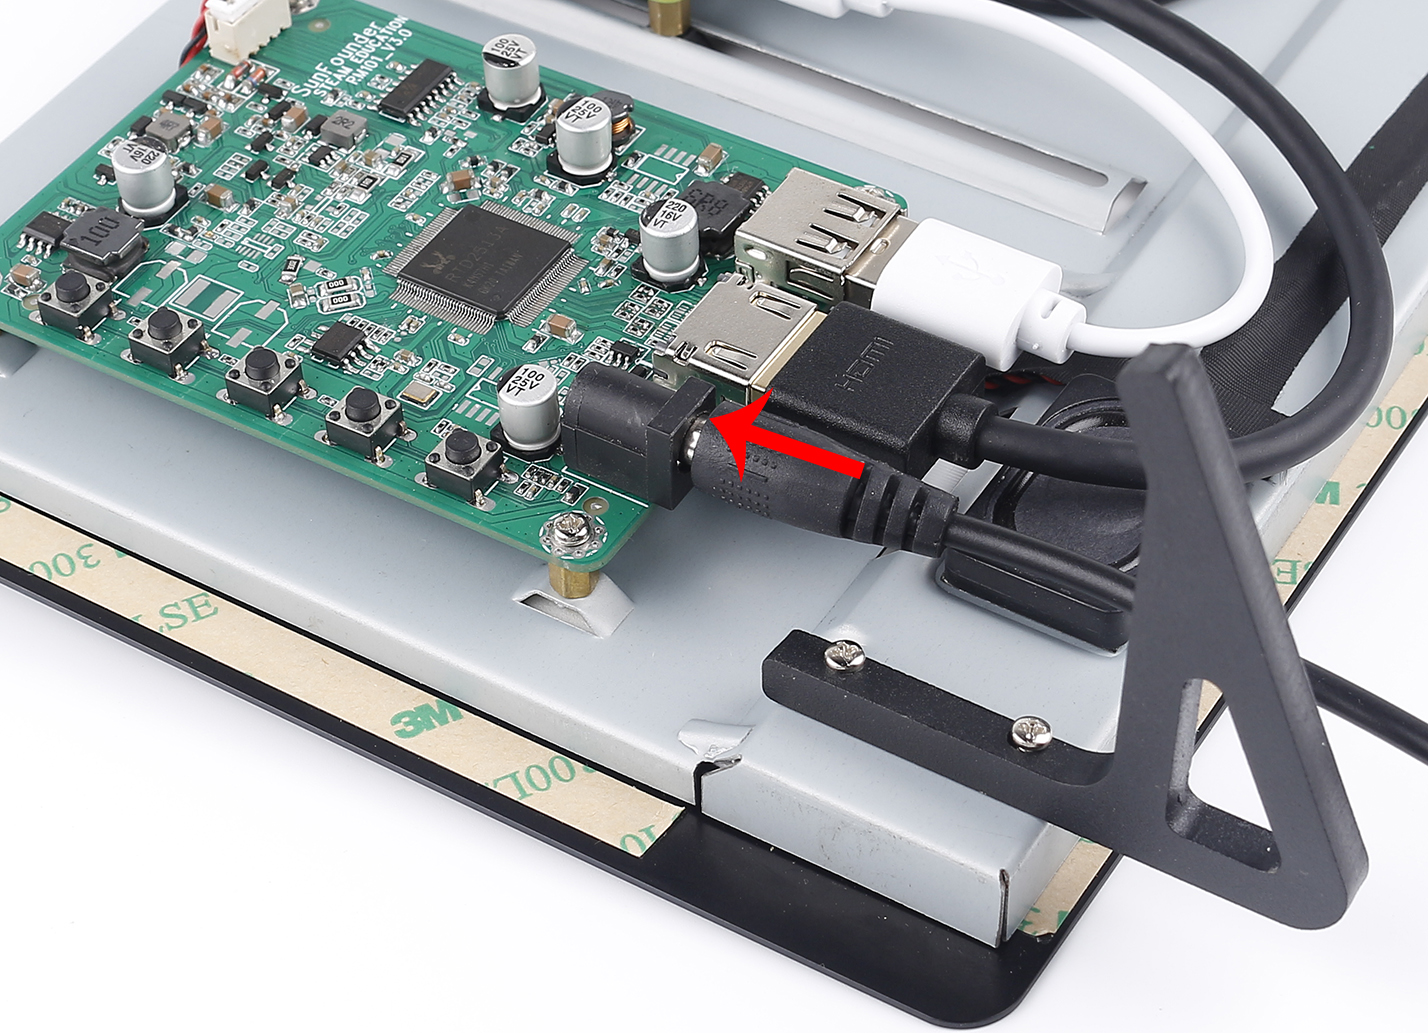
Plug in the 12V/.5A power adapter.
Note
Before plugging in the power cable, you need to Install the Raspberry Pi OS to the Micro SD card, then insert the Micro SD card into the Raspberry Pi and finally plug in the power cable.
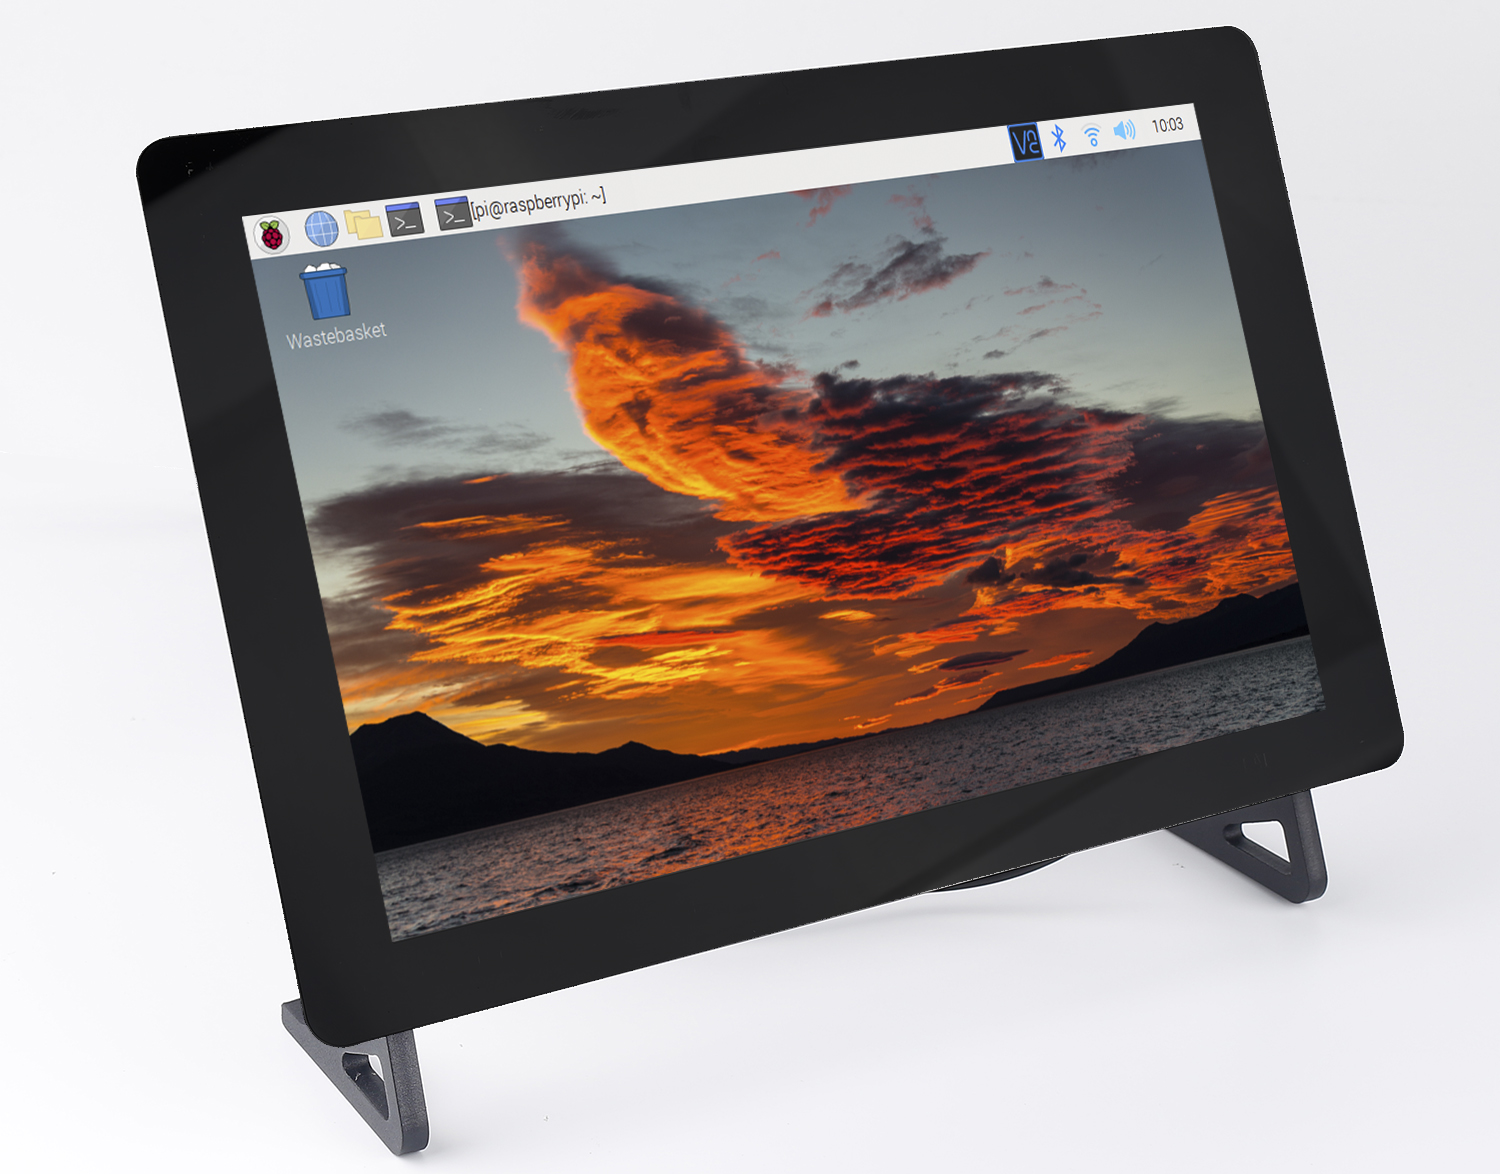
Now you will be able to see the Raspberry Pi boot screen.